Is cleaning your vaporizer a chore? Do you yearn for velvety, mouthwatering draws devoid of a scorched aftertaste? You should use this guide! We'll simplify and make it easy to follow by breaking down the cleaning process into the following steps.
Get ready to transform your vape sessions from frustrating to fantastic!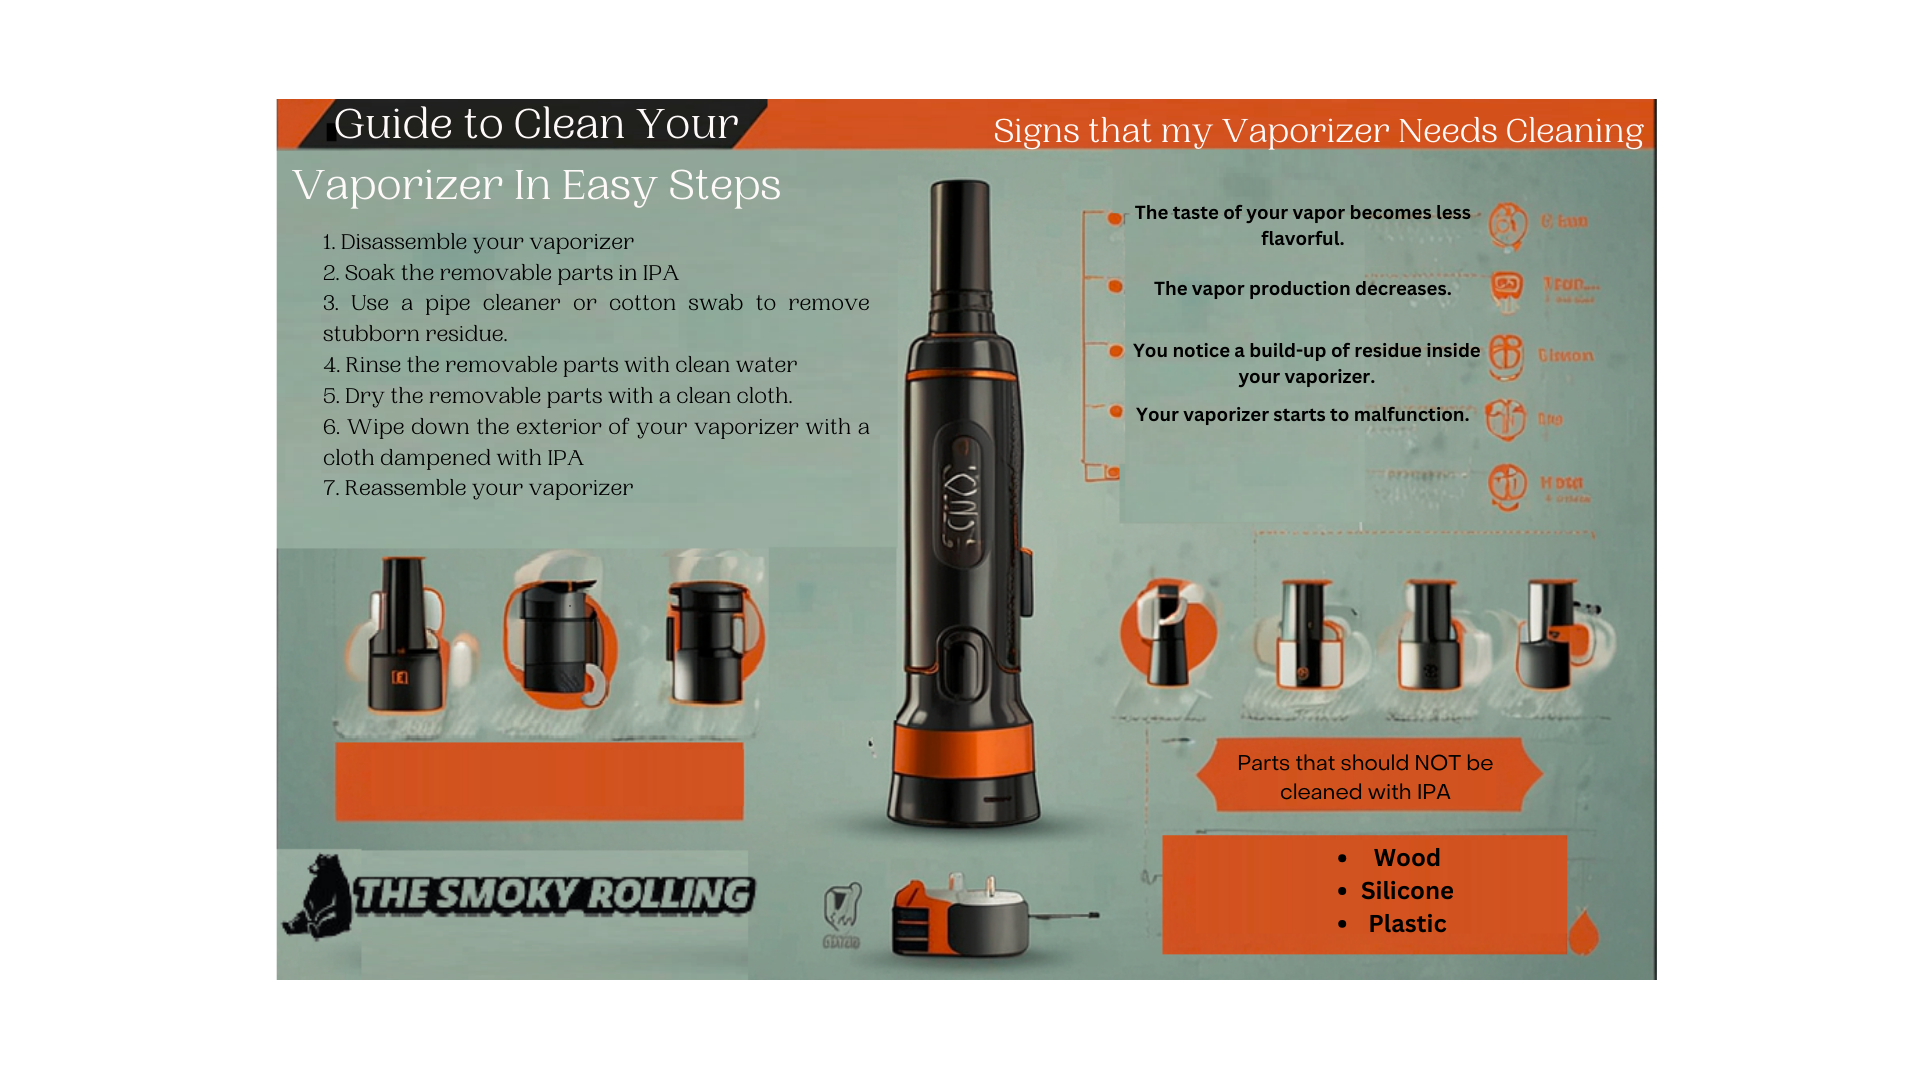
How to clean a vaporizer in easy steps

Maintaining a clean vaporizer is essential for both flavor and performance, not simply for hygienic reasons. Fear not—the procedure is shockingly easy! This section will walk you through the process of cleaning your vaporizer step-by-step so that every use produces delicious vapor and seamless operation.
You must know how to Clean a lookah seahorse pro plus
1. Disassemble your vaporizer
Knowing how to properly take apart, quickly clean, and assemble the various elements of your vaporizer helps you diagnose potential problems, and clean individual components. It can even help you customize the vape pen you set up for your desired experience.
2. Soak the removable parts in IPA
Soaking the removable parts of a small brush in IPA (Isopropyl alcohol) is an effective method for cleaning the brush and disinfecting various objects. IPA is a powerful solvent that can dissolve oils, grease, and other contaminants, making it ideal for small cleaning brushes, electronic components, jewelry, and other small objects.
It is also good to know: what is a wax pen
3. Use a pipe cleaner or cotton swab to remove stubborn residue.
Whether a sticky residue is on a surface, in a hard-to-reach area, or on an object, these tools can help easily and quickly clean and efficiently remove the residue. The pipe cleaner's bristles or the cotton swab's absorbent material can effectively break down and lift the residue, leaving the surface clean and residue-free.
4. Rinse the removable parts with clean water
This step in the cleaning process ensures that any cleaning solution or residue is completely removed from the parts' glass surfaces. Rinsing with clean water helps prevent potential damage or corrosion if the parts are not properly cleaned.
Discover the innovative features in this Smok novo 4 review, from its compact design to its adjustable airflow control ring and leakproof experience.
5. Dry the removable parts with a clean cloth.
After thoroughly cleaning your removable parts, it is essential to dry them thoroughly to prevent any moisture or water damage. Using a clean cloth, carefully wipe down each part, removing all excess water.
6. Wipe down the exterior of your vaporizer with a cloth dampened with IPA
Using a cloth dampened with IPA (isopropyl alcohol) effectively removes dirt, grime, and residue from the surface of your vaporizer. IPA is a powerful solvent that evaporates quickly when cleaning a vaporizer without leaving any residue.
7. Reassemble your vaporizer
To reassemble your clean vaporizer, carefully place the mouthpiece back onto the top of the device. Make sure it is securely attached to a clean vaporizer and aligned properly.
Next, reattach the heating coil, heating chamber part, or cartridge to the battery component of the vaporizer. Again, ensure it is properly aligned and firmly attached.
Finally, if applicable, reconnect the vaporizer with any additional attachments or accessories, such as screens or filters. Double-check that everything is securely in place before using your vaporizer again.
Vaporizers come in various types, including portable, desktop, conduction, and convection models. Understanding these types of vaporizers helps users choose a vaporizer that aligns with their preferences and lifestyle.

Why clean your vaporizer?
Cleaning your vaporizer correctly is important for several reasons.
Firstly, regular cleaning helps maintain the device cleaning vaporizer's performance and efficiency.
Secondly, thorough cleaning of your vaporizer helps to prolong its lifespan. Accumulated residue can lead to clogging and malfunctioning of the device, ultimately resulting in the need for repairs or replacement.
Lastly, cleaning the air and air drying your vaporizer is important for hygiene reasons.
What are the signs that my weed vaporizer needs to be cleaned?
Ever notice your once-potent vaporizer producing less flavorful clouds? Your draws may feel sluggish or clogged. These could be warning signs your trusty vape needs some TLC.
This section will explore the telltale indications that it is time to thoroughly clean your vaporizer to restore its peak performance and maximize its lifespan.
Check these signs before cleaning:
- Flavorless Vapor: When the once-delicious taste of your herb turns stale and muted, it's a telltale sign of residue buildup blocking the flavor terpenes.
- Weak Vapor Production: As residue clogs the airways, your vape's vapor will decrease with each draw.
- Visible Buildup: This one's pretty straightforward. If you can see a buildup of reclaim (reconstituted botanical material) inside your vaporizer's chamber, oven, or mouthpiece, it's time for a cleaning.
- Malfunction: If your vaporizer is acting strangely, like taking longer to heat up, shutting off unexpectedly, or not responding to buttons, cleaning could be the solution. Residue buildup can interfere with the device's proper functioning.
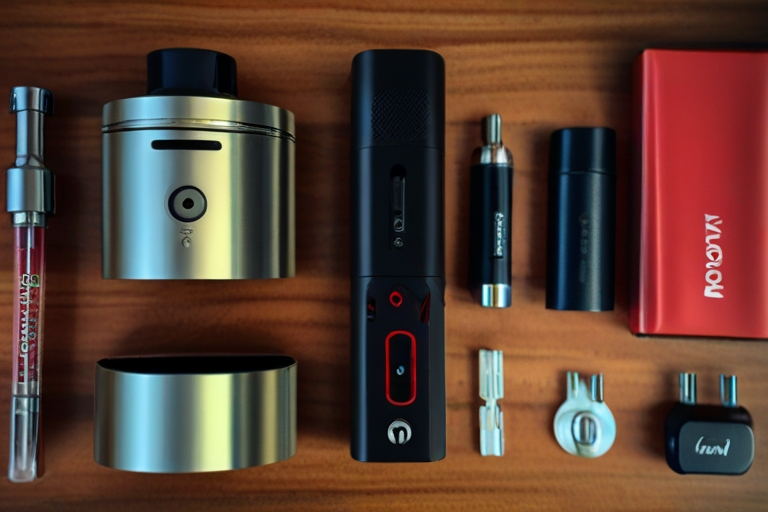
Regular cleaning materials
Warm Water and Pipe Cleaners
Warm water effectively dissolves dirt, grease, and grime from various surfaces. The warmth of the water helps to loosen stubborn stains and makes it easier to scrub them away.
Cotton swab and cleaning brush
They are small cleaning brushes commonly used for personal hygiene, such as cleaning the ears or applying makeup. On the other hand, cleaning brushes come in various shapes and sizes and are designed for different deep cleaning tasks.
Isopropyl alcohol and cotton ball
Isopropyl alcohol white vinegar, or rubbing alcohol white vinegar, is a versatile cleaning agent that can disinfect surfaces deep clean, and remove stubborn stains.
Cotton balls, on the other hand, are soft and absorbent, making them ideal for applying isopropyl alcohol or other cleaning solutions to various surfaces.
How often should you clean?
Generally, cleaning your vaporizer at least once a week is recommended to ensure optimal performance and prevent any buildup of residue or debris. However, if you use your vaporizer more frequently or vaporize sticky or oily materials, you may need to clean it more often, every few days.